How to Integrate ExtentReports to a Java Test Automation Framework.
by Santiago L. Schumacher
Building Beautiful Reports with ExtentReports
An immensely important part of creating automated tests, which is also often overlooked, is the ability to create good reports following a test execution.
A good test report should tick the following boxes:
- Include the test settings:
- Environment (Development, QA, Production, Other).
- Operating System and version.
- Architecture.
- Browser Name and version if applicable
- Log each step of the test, together with its input and responses, to facilitate exact reproduction, even to people without the business knowledge.
- Test information, such as Class Name, Description.
- Store screenshots upon failure or validation errors (when applicable).
- Have a visually attractive Dashboard that’s easy to navigate and provides an overall picture of our tests.
By default, TestNG will create reports of all the tests and configuration methods, with their result (passed, failed, skipped), which you can complement with the Reporter to log each step, however, it’s missing critical features. Navigating through the results and finding out each step is difficult, not to mention that it isn’t easy on the eyes.
In our Framework we’ll be working with ExtentReports
Installing and Configuring ExtentReports
Note: For the complete example go to the Repository
The first step is to add the dependency to our Maven pom.xml file.
I am using version 5.0.9, but always remember to look for newer versions on Maven Repository.
<dependency>
  <groupId>com.aventstack</groupId>
  <artifactId>extentreports</artifactId>
  <version>5.0.9</version>
</dependency>
The second step is to add an easy way to log each step or command from the Tests or from PageObjects. I created a Java Class called “Report”, on the logging package, with the following content:
package logging;

import com.aventstack.extentreports.ExtentTest;
import com.aventstack.extentreports.Status;
import com.aventstack.extentreports.model.ScreenCapture;
import org.testng.Reporter;

/**
 * Default Test Logging class.
 */
public class Report extends Reporter {

    private static ThreadLocal<ExtentTest> currentTest = new InheritableThreadLocal<>();

    private Report() {} // Prevents accidental instantiation of a static-only class

    // Initialization method only, do not call this method outside BaseTest
    public static void setCurrentTest(ExtentTest test) {
        currentTest.set(test);
    }

    public static void log(String s) {
        logInfo(s, true);
    }

    public static void logError(String s) { logError(s, true); }

    public static void logError(String e, boolean logToStandardOutput) {
        if (logToStandardOutput) {
            System.out.println(e);
        }
        currentTest.get().fail(e);
    }

    public static void logInfo(String s, boolean logToStandardOutput) {
        if (logToStandardOutput) {
            System.out.println(s);
        }
        currentTest.get().info(s);
    }

    public static void addScreenshot(String base64Screen) {
        if (!base64Screen.startsWith("data:")) {
            base64Screen = "data:image/png;base64," + base64Screen;
        }
        currentTest.get().log(Status.FAIL,
                ScreenCapture
                        .builder()
                        .base64(base64Screen)
                        .title("Click the above button to see the screenshot.")
                        .build());
    }

}
The above will allow you to call Report static methods, from either particular Tests, Page Objects, or Utilities classes/methods, with different levels (info, warning, failures).
Lastly, we need to configure 2 things on the BaseTest, the first being the Suite information, in the BeforeSuite method (with details regarding the execution environment and where to store the reports), and the second is setting the current running test (in the BeforeMethod), like so:
@BeforeSuite
@Parameters({"driverName"})
protected void initializeSuite(@Optional("CHROME") String driverName) {
// Where the Report is stored. To improve this, make it dynamic or even store
// it in a Database or S3 Bucket.
ExtentSparkReporter spark = new ExtentSparkReporter("target/Spark.html");
extent.attachReporter(spark);
extent.setAnalysisStrategy(AnalysisStrategy.TEST);
extent.setSystemInfo("Operating System", Architecture.getOperatingSystemType().name());
extent.setSystemInfo("64 bits", String.valueOf(Architecture.is64bits()));
extent.setSystemInfo("Driver", driverName);
}
@AfterSuite
protected void flush() {
extent.flush();
}
@BeforeMethod(alwaysRun = true)
protected void setup(Method m) {
// Initialize a Test and Set up the Report class
te.set(extent.createTest(m.getName()));
Report.setCurrentTest(te.get());
// Initialize your Drivers, Assertion class, others below.
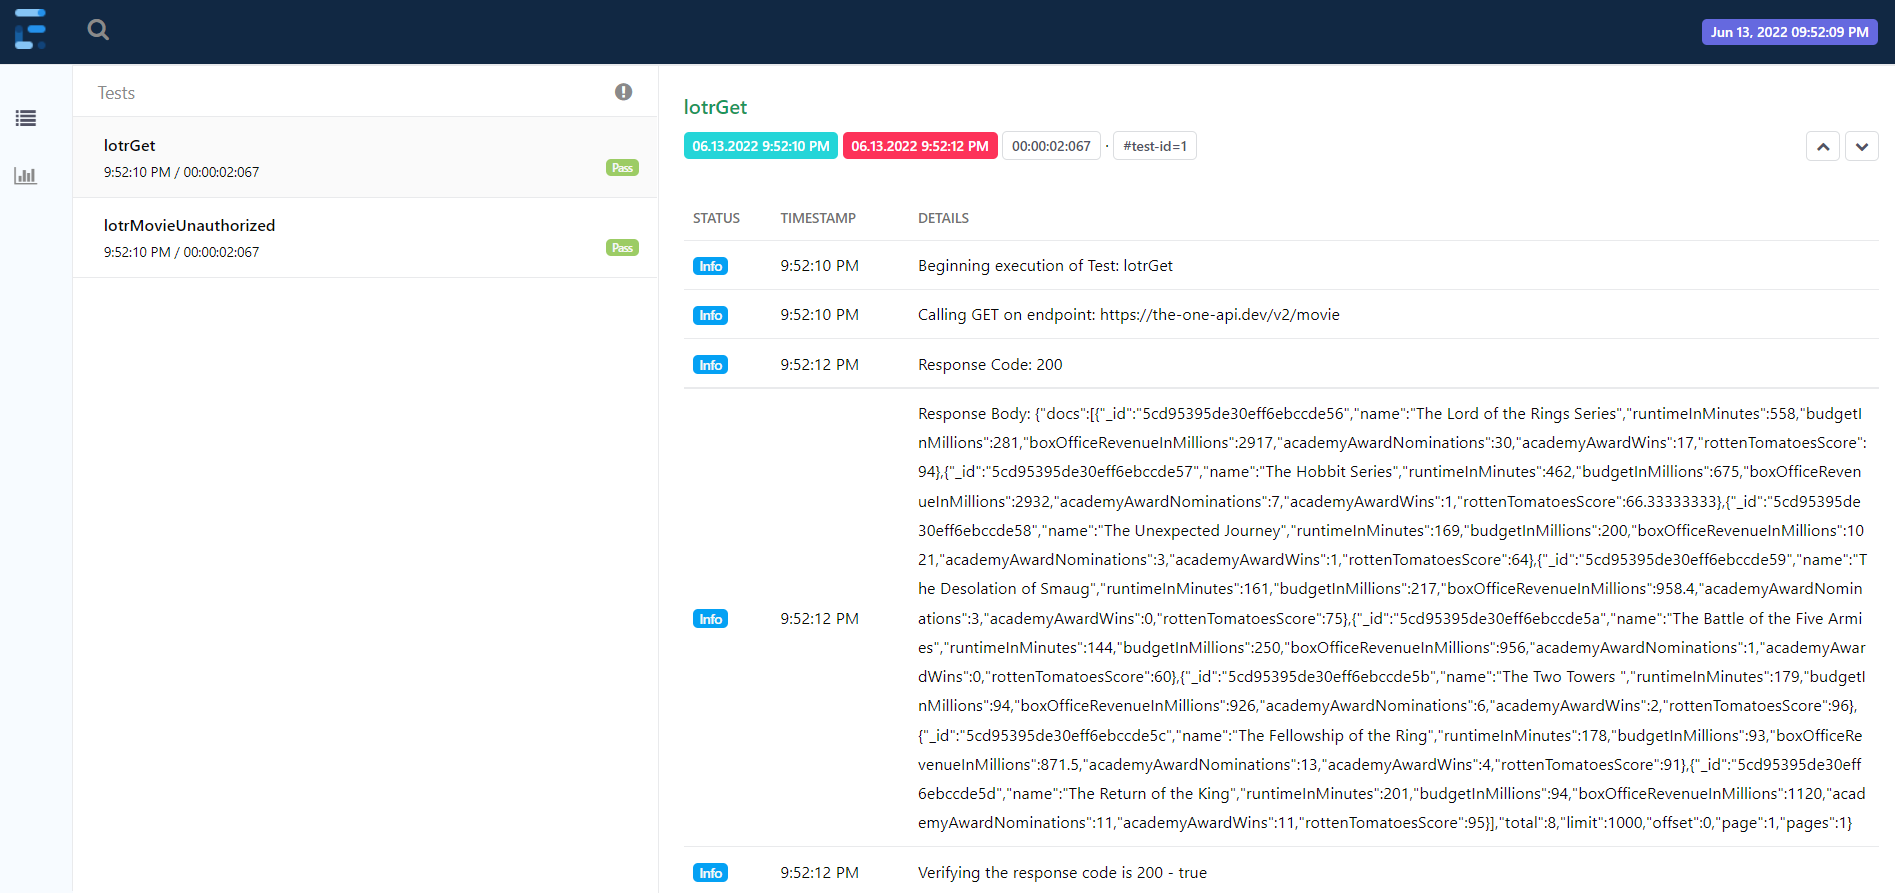
}…. And that’s it ! In three easy steps, we have complete and and beautiful reports after running each test suite.
They should look something like this:

Lastly, if you’re looking for options to compare before installing ExtentReports, take a look at Allure, which is another great option.
Any issues or unable to make it work on your framework ? Type your question below and we can discuss.
Until the next time, and happy testing, Santiago.
Subscribe via RSS